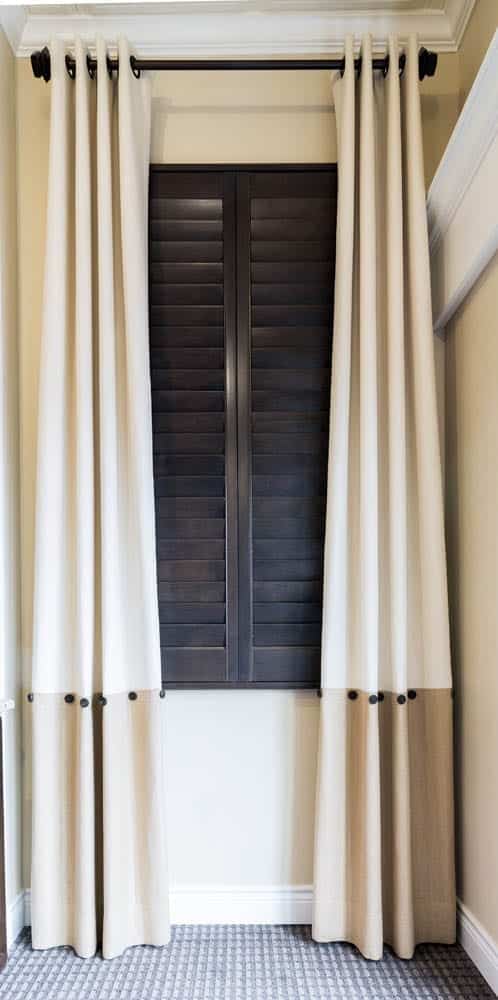
Special thanks to Debra Dunham, a former ABC Blind & Drapery designer of 15 years, who came out of retirement to give current designers Britt and Kelly a special class in custom draperies. We’re inviting you to listen in on their class! This is the third video installment in which Debra discusses how to measure for drapes and assessing the needs of the client. The effect of these will affect your final decisions about which custom drapes and curtains will work best for your client.
Custom Drapes and Curtains: Assessing the Needs of the Client
What direction do the windows face? Will heat be a problem? Is there glare? What do you do with that tricky arch at the top? Debra has the answers in this video!
Transcription:
I’ve talked to this client about her needs for custom drapes and curtains. She wants to know my idea of what’s going to look good right here because when you walk in her front door, this is what you see. This is like an entry point and it needs to be artistic. One thing, because she has this huge, high ceilings. What I’m going to recommend to her is … Another thing that you want to make notes about is which direction this faces. If this is a west facing area, she has some serious heat problems. I’m going to ask her about heat. I’m going to ask her about the layer, all those different things.
This arch at the very top is one of the toughest things to control the heat with. There are a couple of ways to go with it. One thing that I’ve done in the past a lot is the [little 01:10] piano right behind you and have solar screening put on the back. That is something that looks beautiful and then we can incorporate her drapes into that. Then, when we’re talking about this, I’ll layer. Maybe just sketch it on there for her because she doesn’t understand what you meant at all.
We’ve talked about some fabrics and I’m going to go back in and I’m sitting right here with her beside me and I’m just going to sketch in what I think looks pretty. What I think would look pretty is that we put a rod right across here, do the Luna Piena with the solar screening and then just do these very long panels right here just so she can see what I can see and then this sheetrocks face is where we want to mount the rod. Just do a simple drawing there, little vinyls, it just takes a minute to do this. We’re going to have this rod come all the way across.
It’s not an issue about the rod width or length because the rods, when you get them … For one, if it was 20 feet long, we can’t get one that size. Two, the trucks can’t transport it there so there’s generally an unseen splice in a wood rod. If it needs to be a metal rod, then what’s done, there’s still a splice there and the splices can happen over here to where they’re hidden too. We know for one we need a bracket that every sheetrocks face. If it’s super wide, it may take a couple more because anything over 6 feet in width is going to sag or bow without multiple brackets.
For this one, we’re going to do bracket and a bracket and a bracket and a bracket. Just so what she can see about my beautiful ideas, we’re going to have these rings here. Once you’ve accustomed to do doing it and you don’t have to, I just always did this to be easier for the client and then talk about length [inaudible 03:57] touching the floor. Puddles are not recommended for this height because they get so dirty. Another thing is that bottom length. Everything is suitable whether it’s a half-inch … no more than half inch off the floor.


